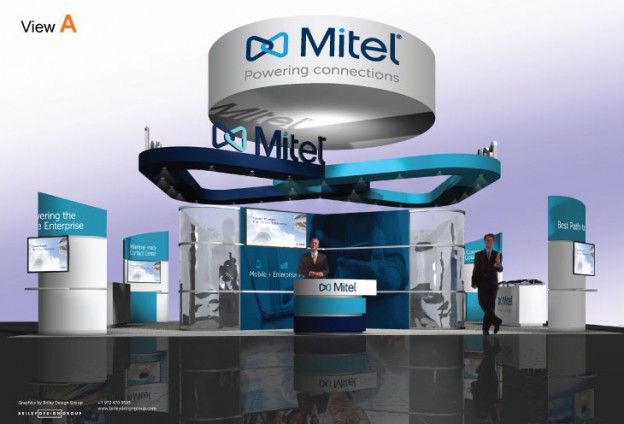
 When creating graphics for large format items like banners and trade show displays, be sure to give your print vendor exactly what they need.
Ask your print vendor for detailed artwork specifications, which will let you know exactly how to setup your artwork in terms of scale, resolution, whether or not they need bleed (or extra image beyond the trim edge), preferred file format, etc. Most print vendors will be able to provide you with their exact specs.
Specs can vary from one vendor to the next, so it is always good to ask. But if you cannot get exact artwork specs, there are some general rules of thumb you can lean on if you must. Assume that photos should be a target resolution of 100 to 150 dpi at final size. Assume that you will need .25” bleed on each side. More than likely the vendor will want the artwork in CMYK color mode and will need crop marks included.
If you are using a photo on your banner or trade show display, often even high quality, high resolution images are not high enough resolution to yield good print output at such a large size. The good news is that high quality images can often be re-interpolated to a larger size either by using specialized software (like onOne’s Perfect Resize or Alien Skin’s Blow Up), or by incrementally enlarging the photo in Photoshop.
If you have to re-interpolate your photo, be sure to pay close attention to noise and sharpness. View your image at 50% of actual size to check the noise and sharpness.
The image below would have been soft without additional sharpening.


Some images may need additional noise reduction, like the example below. This noise might be overlooked if you only view your image at a reduced size to fit your computer monitor. The image below is shown at 50% of its final size, which is large enough to see the noise that results from re-interpolation. You need to be aware of this so that you can reduce the noise if needed – before it ends up on your printed banner.

Keeping these things in mind when creating graphics for large format items will help you provide your print vendor with exactly what they need. In the end, your print vendor will appreciate receiving the artwork ready-to-print. It will allow them to do their job faster, without additional troubleshooting, and should provide you with the best possible output quality.


 When creating graphics for large format items like banners and trade show displays, be sure to give your print vendor exactly what they need.

